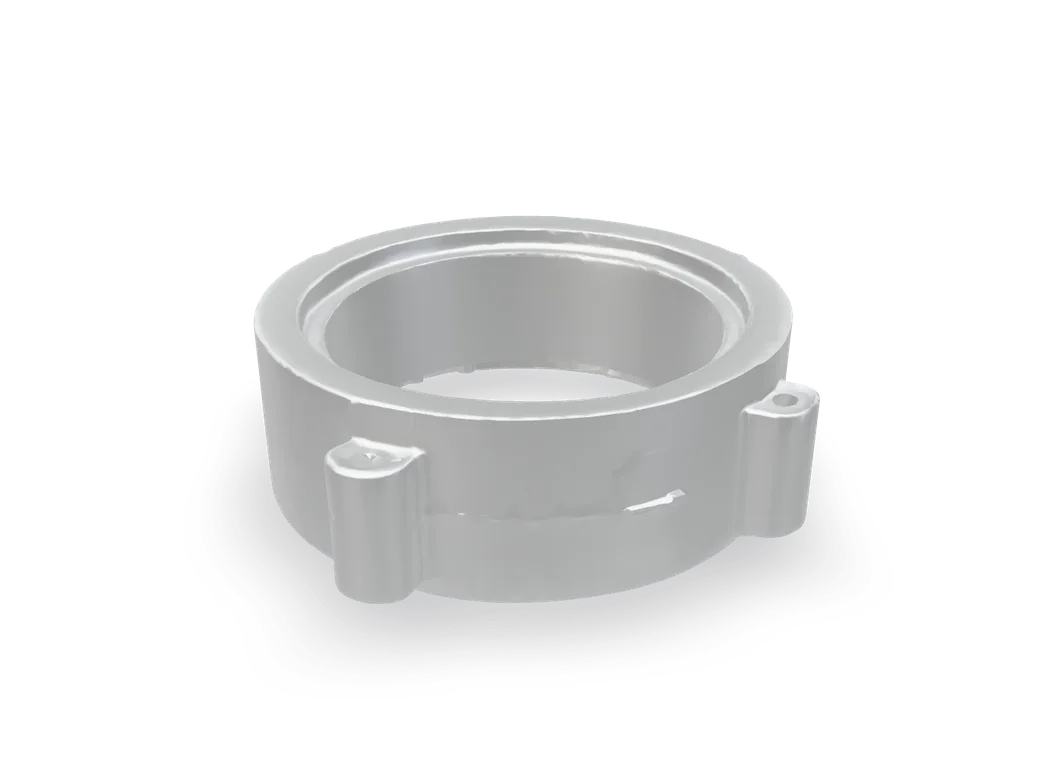
Garbage disposal leaking from the top: reseal the sink flange
Water dripping from the top of the disposal, right under the sink? Tightening the mounting ring or a fresh rope of plumber's putty usually stops it.
- Difficulty
- Easy
- Time
- 30 min–1.3 hr
- Typical part cost
- $5–$50Pro: $80–$180
- Tools
- 5See the list
Tightening is quick. Resealing means taking the disposal down, which is heavier than it looks.
What it does
What the sink flange does
The sink flange sits in the drain hole of the sink, sealed to the sink with a rope of plumber's putty. Underneath, a gasket and a set of rings clamp it in place. On many mounts, three screws do the clamping. Designs vary, so keep your unit's instructions handy.
The disposal hangs from that mounting ring and twists on and off it.
Why it fails
Old putty dries out and cracks, so water seeps between the flange and the sink.
The mounting screws work loose over time.
The gasket under the flange tears or flattens.
Symptoms
Signs of a bad sink flange
Drips from the top
Water runs down the outside of the disposal from where it meets the sink.
Full diagnosisWobbly disposal
The unit moves or rattles where it hangs. The mounting screws are loose.
Sink drain ring loose
The metal ring in the sink turns or lifts.
How to test it
Test the sink flange before you buy
- Dry the outside of the disposal and the underside of the sink.
- Fill the sink with a few inches of water, then pull the stopper. Watch with a flashlight.
- Good
- Water appears at the top where the disposal meets the sink. It is the flange. Try tightening first.
- Bad
- Water appears lower down, at the side outlet, at the dishwasher inlet, or the bottom. See [disposal leaking](/garbage-disposal/symptoms/leaking).
Safety first
Before you touch anything
- 1
Switch off and unplug
Turn the wall switch off and unplug the disposal, or switch off its breaker if it is hardwired.
- 2
Support its weight
A disposal is heavy. Support it from below as it comes off the mounting ring.
Tools you'll need
Grab these first
Tool and part links are affiliate links. We may earn a commission at no extra cost to you, and it never changes what we tell you to check first. How this works
- Plumber's puttySeals the flange to the sink.Typically $4–$8Shop this tool
- Multi-bit screwdriverPhillips, flat, squareLoosens and tightens the mounting screws and frees the mount.Typically $10–$25Shop this tool
- Tongue-and-groove pliers10 in.Loosens the drain trap from the discharge tube.Typically $12–$28Shop this tool
- Putty knifeStiff, 1-1/2 in.Scrapes old putty off the sink.Typically $5–$12Shop this tool
- Bucket5 galCatches water from the trap and the disposal.Typically $4–$10Shop this tool
Step by step
How to replace the sink flange
- 1
Switch off and unplug
Turn off the wall switch and unplug the disposal, or switch off its breaker.
- 2
Try tightening first
Find the mounting screws on the ring just under the sink. Tighten each one a little at a time, going around evenly. Do not overtighten.
Run water again. If the leak has stopped, you are done.
- 3
Take the disposal down
Put the bucket under it. Loosen the trap from the discharge tube, and take off the dishwasher hose if there is one.
Hold the disposal from below and turn its lower ring to unhook it from the mounting ring. Lower it carefully.
- 4
Remove the flange
Loosen the mounting screws and free the mount. On many units you pry a snap ring off with a screwdriver. On others the ring turns a quarter turn to come off. Slide off the rings and gasket.
Push the flange up through the sink and scrape every bit of old putty off the sink and the flange.
- 5
Fresh putty, flange back in
Roll plumber's putty into a rope about 1/2 in. thick and press it around the underside of the flange rim. Drop the flange into the drain hole and press it down evenly. Once it is seated, do not twist it.
Put some weight on it, like the disposal on a towel, while you work underneath.
Buy the part
Sink flange and mounting ring
Opens Amazon in a new tab. Where’s my model number?
What to look for
- A mounting assembly made for your disposal's brand and mount style. Mounts are not all interchangeable.
- The same flange finish if you want it to match the sink.
Plumber's putty itself is universal. On granite, marble or other stone, use a stain-free putty labeled safe for stone.
- 6
Refit the rings
From below, fit the gasket and rings in the order your mount's instructions show, and lock them on with the snap ring or the quarter turn.
Tighten the screws evenly until snug. Do not overtighten. Wipe off the putty that squeezed out on top.
- 7
Rehang and test
Lift the disposal, hook it onto the mounting ring and turn until it locks. Reconnect the trap and the dishwasher hose.
Plug in or switch the breaker on. Fill the sink, drain it, and check for drips.
Buy the part
Get the right replacement
Buy the part
Sink flange and mounting ring
Opens Amazon in a new tab. Where’s my model number?
What to look for
- A mounting assembly made for your disposal's brand and mount style. Mounts are not all interchangeable.
- The same flange finish if you want it to match the sink.
Plumber's putty itself is universal. On granite, marble or other stone, use a stain-free putty labeled safe for stone.
Know your limits
When to call a pro
Stop and call a pro if
- The sink itself is cracked around the drain hole.
- The disposal body is leaking, not the flange. It needs replacing.
- You cannot safely lift and support the unit.
FAQ
Sink flange and mounting ring questions
Why is my disposal leaking from the top?
Usually dried putty or loose mounting screws at the sink flange. Try tightening the screws first.
Putty or silicone?
Disposal install instructions call for plumber's putty under the flange. Follow the instructions that came with your mounting assembly.
How tight should the mounting screws be?
Snug and even, going around a little at a time. Do not overtighten.
Related
Keep going
- SymptomGarbage disposal leakingWater under the sink, traced to the disposal. Top leaks are the sink flange. Side leaks are the discharge elbow or the dishwasher hose. Bottom leaks mean the unit has failed inside.Open guide
- Garbage disposal partSplash guardThe rubber splash guard sits in the sink drain and keeps food and water from spraying up. On many disposals it is also part of the gasket at the top. Replace it when it tears or smells.Open guide
- Garbage disposal partDischarge elbow and gasketThe discharge elbow carries ground food out of the disposal into the drain trap. A flattened gasket or loose fastener at the disposal, or a loose slip nut at the trap, leaks. Tighten it or swap the gasket.Open guide
- Garbage disposal partWhole disposal unitWhen the body cracks, it leaks from the bottom or the reset button, or the motor is dead, the disposal gets replaced as a unit. Unhook it, move the cord, hang the new one and reconnect the drains.Open guide
Get the next fix before it breaks
A short email when the seasons turn: filters to change, detector batteries to check, and new repair guides. No spam, unsubscribe any time.
We send it with Kit. Privacy