Dryer drum belt replacement
Motor running but the drum sits still? A snapped belt is the usual reason, and a new one is one of the cheapest dryer parts.
- Difficulty
- Moderate
- Time
- 30 min–2 hr
- Typical part cost
- $10–$70Pro: $100–$250
- Tools
- 5See the list
No wiring beyond the door switch, but you open the cabinet, lift the drum and route a belt by feel. Taking a photo first makes it much easier.
What it does
What the belt does
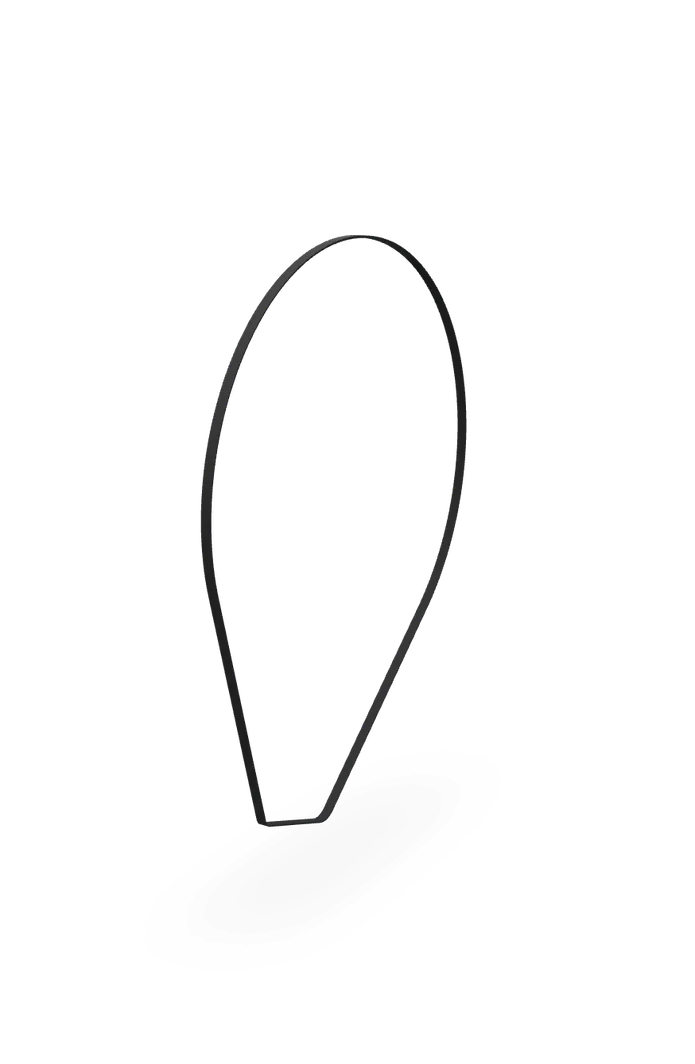
The drum belt is a long, thin rubber belt that wraps all the way around the outside of the drum. From there it runs around a spring-loaded idler pulley and then around a small pulley on the motor shaft.
When the motor spins, the belt turns the drum. The idler pulley pushes on the belt to keep it tight so it grips instead of slipping.
Gas and electric dryers use the same kind of belt. On many dryers a small safety switch rides on the idler and stops the motor if the belt breaks.
Why it fails
Years of heat and friction stretch the belt. It cracks, frays and eventually snaps.
A worn idler pulley or drum rollers make the belt work harder. A seized idler can chew through even a new belt quickly, so check them while the dryer is open.
A belt that is routed wrong, or put on with the wrong side against the drum, slips, makes noise and wears out early.
Symptoms
Signs of a bad belt
Motor runs, drum does not turn
You hear the motor hum along, but the clothes just sit there. On dryers without a belt switch, this is the classic broken-belt sign.
Full diagnosisDrum spins too easily by hand
With the dryer unplugged, open the door and turn the drum. A good belt gives some drag. If the drum spins freely with no resistance, the belt is broken or off.
The dryer will not start at all
Many dryers have a belt switch at the idler pulley. A broken belt opens it, so the motor will not run even though the controls light up.
Full diagnosisSquealing or thumping
A worn belt with a flat spot or frayed edge can thump or squeal before it breaks. So can the idler and rollers, so check them too.
Full diagnosis
How to test it
Test the belt before you buy
- Unplug the dryer.
- Open the door, put your hand flat on the drum fins and turn the drum.
- Notice how it feels. A belted drum turns with steady drag, because it is also turning the motor.
A drum that is very hard to turn, or grinds, points more to the rollers or idler than the belt.
- Good
- Steady, even drag all the way around. The belt is probably on and in one piece.
- Bad
- The drum spins freely with almost no resistance. The belt is broken or has come off its pulleys.
- With the dryer unplugged and the cabinet open (see the steps below), find the belt around the drum.
- Follow it down to the idler and the motor pulley, and run it through your gloved fingers.
- Good
- Whole, flexible, with no cracks, frayed edges or shiny glazed spots, and still wrapped around the idler and motor pulley.
- Bad
- Snapped, cracked, frayed or thrown off the pulleys. Replace it, and check the idler and rollers while you are in there.
Safety first
Before you touch anything
- 1
Unplug the dryer
Pull the power cord from the wall. If you cannot reach the plug, turn off the dryer's breaker. Do this before you take off any panel.
- 2
Gas dryers: close the gas shutoff
Turn the shutoff handle on the gas line behind the dryer a quarter turn so it sits crosswise to the pipe. You will not open any gas fittings in this job. It is a second layer of safety. If you pull the dryer out, do it gently so you do not kink or strain the gas line.
- 3
Wear gloves
The sheet metal edges inside a dryer cabinet can be sharp.
- 4
Let it cool
If the dryer just ran, give the heater area time to cool before you reach in.
Tools you'll need
Grab these first
Tool and part links are affiliate links. We may earn a commission at no extra cost to you, and it never changes what we tell you to check first. How this works
- Nut driver1/4 in. hexMany dryer panel screws are 1/4 in. hex heads.Typically $6–$15Shop this tool
- Nut driver5/16 in. hexThe other common panel screw size. Your dryer may use one or both.Typically $6–$15Shop this tool
- Multi-bit screwdriverPhillips, flat, squareFor Phillips screws on the top, front panel or lint housing.Typically $10–$25Shop this tool
- Work glovesDryer cabinet edges can be sharp.Typically $8–$20Shop this tool
- HeadlampThe idler and motor pulley sit low and back under the drum.Typically $12–$30Shop this tool
- Painter's tape and markerOptionalLabel the door switch wires before you unplug them.Typically $5–$12Shop this tool
Step by step
How to replace the belt
- 1
Unplug the dryer and close the gas
Pull the power cord from the wall, or turn off the dryer's breaker if you cannot reach the plug.
On a gas dryer, also turn the gas shutoff handle a quarter turn so it sits crosswise to the pipe.
Careful. If you slide the dryer out to reach the back, move it gently. Do not kink or strain the gas line, and never disconnect it yourself.
- 2
Open the top
Dryers open in different ways. On many, the top panel lifts or tips up after you remove a few screws, often found at the front edge, under the lint screen or at the back. On others, the front panel comes off first and the top stays put.
Check your dryer's service manual or tech sheet for your model's order.
Tip. Take photos as you go. They are your map for putting it all back.
- 3
Take off the front panel
Find the door switch wires inside the front panel. Label them, then pull the connectors off by the connector body, not the wire.
Remove the front panel screws and lift the panel away. Support the drum with one hand as the panel comes away.
- 4
Release the belt tension
Take a photo of how the belt wraps around the idler pulley and the motor pulley. Then reach under the drum, toward the back, and push the idler pulley to slacken the belt. Which way it moves depends on the dryer.
While the belt is slack, slip it off the motor pulley and ease the idler back.
Careful. The idler is under strong spring tension. Keep hold of it and let it back slowly. Do not let it snap back on your fingers.
- 5
Lift the drum out
Lift the drum slightly and slide it out through the front of the cabinet, with the old belt still around it.
Take the old belt off the drum. While the drum is out, spin the idler and the support rollers by hand. Rough, wobbly or flat-spotted ones are worth replacing now.
Tip. Belt, idler and rollers wear together. Many people replace them as a kit while the drum is out.
- 6
Match the new belt
Check that the new belt matches your dryer's model number or the old belt's part number. Belts look alike but lengths and rib patterns differ.
Buy the part
Drum belt
Opens AppliancePartsPros in a new tab. Where’s my model number?
What to look for
- A belt listed for your dryer's model number, from the rating plate.
- The same width and rib count as the old one. Most are a flat belt with small ribs on one side.
- If you buy a kit with a belt, rollers and idler, check that every piece lists your model.
Repair kits that bundle a belt, idler pulley and rollers are common and often cost little more than the belt alone. Only buy one that lists your model.
- 7
Put the belt on the drum and set the drum back
Wrap the new belt around the drum with the ribbed side against the drum and the flat side out. Line it up with the mark or groove the old belt left.
Slide the drum back in and set its back edge onto the rear support rollers, with the belt hanging down toward the motor.
- 8
Route the belt around the idler and motor
Reach under the drum. Push the idler pulley to make slack, loop the belt around the idler and then around the motor pulley, the same way as in your photo. Then let the idler back slowly so it tightens the belt.
Many dryers have a belt diagram on the tech sheet or inside the cabinet. Follow it if yours does.
Tip. With the front panel off, a helper can hold the drum steady while you work the belt underneath.
- 9
Turn the drum by hand
Turn the drum slowly through a few full turns. The belt should stay centered on the idler and the motor pulley and not rub or ride off the edge.
If it wanders, reroute it before you close up.
- 10
Close the cabinet
Hold the front of the drum level, refit the front panel and its screws, and reconnect the door switch wires using your labels.
Lower or refit the top and put its screws back.
- 11
Power up and test
On a gas dryer, turn the gas shutoff handle back in line with the pipe. Plug the dryer in or turn the breaker back on.
Run a short cycle with the door shut. The drum should turn smoothly and quietly.
Buy the part
Get the right replacement
Buy the part
Drum belt
Opens AppliancePartsPros in a new tab. Where’s my model number?
What to look for
- A belt listed for your dryer's model number, from the rating plate.
- The same width and rib count as the old one. Most are a flat belt with small ribs on one side.
- If you buy a kit with a belt, rollers and idler, check that every piece lists your model.
Repair kits that bundle a belt, idler pulley and rollers are common and often cost little more than the belt alone. Only buy one that lists your model.
Know your limits
When to call a pro
Stop and call a pro if
- You smell gas. Do not touch any switches. Leave the house and call your gas utility from outside.
- The job would mean disconnecting or moving the gas line. Leave gas connections to a pro.
- A new belt breaks or slips again soon after. A seized idler, a dragging roller or a motor problem may be the real cause.
- The drum will not turn by hand even with the belt off. Something is seized.
- You see scorch marks, melted wires or a burnt smell inside the cabinet.
FAQ
Drum belt questions
How do I know it is the belt and not the motor?
Unplug the dryer and spin the drum by hand. If it spins freely with no drag, the belt is broken or off. If the belt is fine and the motor only hums when you start the dryer, look at the drive motor.
Why won't my dryer start at all if the belt broke?
Many dryers have a belt switch at the idler pulley. When the belt breaks, the switch opens and the motor will not start. Older dryers without one keep running with the drum standing still.
Which side of the belt goes against the drum?
The ribbed side goes against the drum. The flat side faces out and rides on the idler pulley.
Should I replace the idler and rollers too?
It is worth a look while the drum is out. They wear together, and a seized idler pulley can wear out a new belt fast. If the idler or drum rollers feel rough or wobble, replace them now.
Related
Keep going
- SymptomDryer runs but won't tumbleThe dryer starts and the motor runs, but the drum stays still or barely moves. The usual cause is a broken drum belt, then the idler pulley that keeps it tight, then worn drum rollers.Open guide
- SymptomDryer won't startThe dryer is dead, the lights come on but the drum never turns, or it hums without starting. Start with the breaker and the door, then the thermal fuse, the door switch and the start switch.Open guide
- SymptomDryer squealing, squeaking or thumpingA squeal or squeak usually comes from the idler pulley or a motor bearing. A rhythmic thump usually comes from worn drum rollers, drum glides or a damaged belt. A rattle or knock can be the blower wheel.Open guide
- Dryer partIdler pulleyThe idler pulley is a small spring-loaded wheel that keeps the drum belt tight. When its bearing wears, it squeals. Gas and electric dryers both have one.Open guide
- Dryer partDrum support rollersDrum support rollers are small wheels the drum rides on. When they wear flat or their bearings dry out, the dryer thumps, rumbles or squeaks. Gas and electric dryers both have them.Open guide
- Dryer partDrive motorThe drive motor turns the drum through the belt and, on many dryers, spins the blower fan too. It is one of the bigger dryer repairs. Gas and electric dryers both have one.Open guide