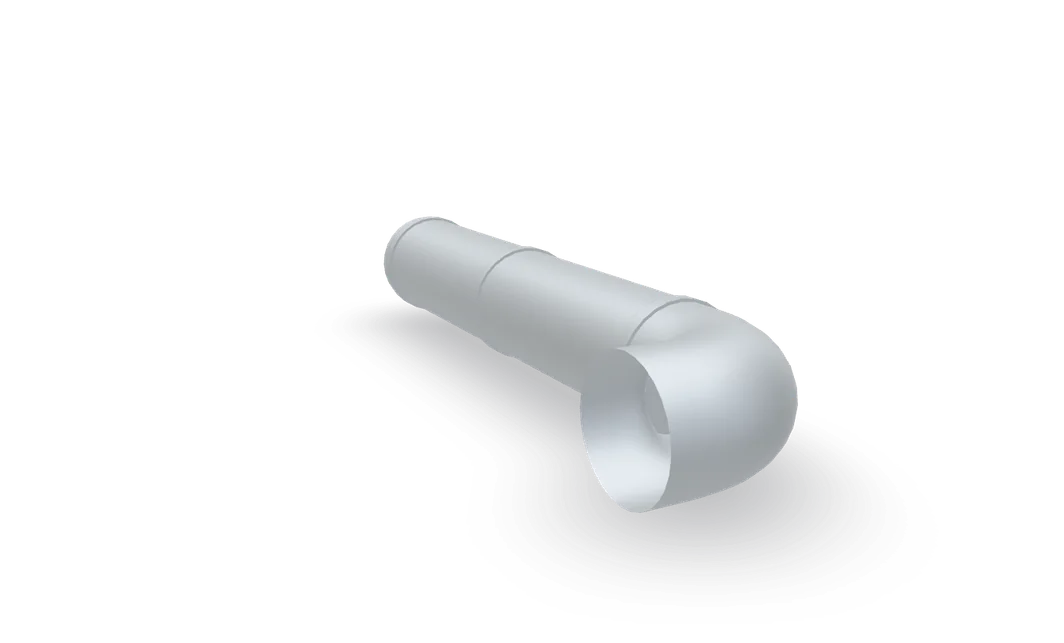
How to clean a dryer vent
Good news: a clogged vent is the most fixable problem a dryer has. A brush kit, an hour, and your loads dry faster and your home is safer.
- Difficulty
- Easy
- Time
- 30 min–1.5 hr
- Typical part cost
- $15–$30Pro: $100–$185
- Tools
- 4See the list
No wiring and no parts to swap. The work is moving the dryer carefully, brushing the duct and putting it back without kinks.
What it does
What the exhaust vent does
Every dryer, gas or electric, blows its hot, damp air out through a duct. A short transition duct runs from the back of the dryer to the wall, then the house duct runs outside to a hood with a flap.
Most dryers are built for a 4 in. metal duct. How long the run can be depends on the dryer, the duct type, the number of bends and the hood. That limit is in your installation instructions, so check your manual.
The flap on the outside hood opens when the dryer pushes air out and falls shut when it stops, which keeps weather and pests out.
Why it fails
Some lint always gets past the lint screen and settles in the duct. Over months it builds into a felt-like layer that narrows the pipe. Failure to clean is the leading cause of home dryer fires.
Plastic and thin foil accordion ducts make it worse. They trap lint in their ridges and kink or crush easily behind the dryer.
Pushing the dryer back against the wall can flatten the transition duct. Outside, a nest, a screen over the opening or lint in the hinge can hold the flap shut.
When air cannot get out, heat builds up inside the dryer. The thermal fuse blows to protect it, and a new fuse blows again if the vent is still blocked.
Symptoms
Signs of a bad exhaust vent
Loads take longer to dry
The classic sign. If a normal load now needs a second cycle, the vent is the first place to look.
Full diagnosisWeak air at the outside hood
With the dryer running, go outside. You should feel a strong, warm stream and see the flap open. A trickle, or a flap that stays shut, means a blockage.
The dryer stops mid-cycle or runs hot
A blocked vent can make the dryer overheat and shut itself off. The top or the clothes may feel unusually hot.
Full diagnosisRuns but no heat
A thermal fuse blown by a blocked vent is a very common reason a dryer stops heating. Clean the vent before you fit a new fuse.
Full diagnosisA check vent message
Some dryers sense restricted airflow and show a check vent light or code. Look up your code in the manual.
How to test it
Test the exhaust vent before you buy
- Start the dryer on a heat setting with an empty drum or a small load.
- Go outside to the vent hood.
- Watch the flap and hold your hand near the opening.
- Good
- The flap opens and you feel a strong stream of warm air.
- Bad
- The flap stays shut or barely lifts, or the airflow is weak. The duct, the transition duct behind the dryer or the hood is restricted. Clean it.
- With the dryer unplugged, pull it out far enough to see the duct behind it.
- Follow the duct from the dryer to the wall.
- Good
- Rigid or semi-rigid metal duct, round and open, with gentle bends and tight joints.
- Bad
- White vinyl or thin foil accordion duct, a crushed or kinked section, or a loose joint. Replace that section with metal duct.
Safety first
Before you touch anything
- 1
Unplug the dryer
Pull the plug before you touch the duct, on gas and electric dryers alike. Electric dryers use a large 240 V plug. Grip the plug itself, not the cord.
- 2
Gas dryer: close the shutoff and go easy
Turn the handle on the dryer's gas line a quarter turn so it sits crosswise to the pipe. That is a second layer of safety. Move the dryer only a short way so the flexible gas connector does not stretch, bend sharply or pull loose. Never disconnect, bend or reuse a gas connector yourself. Any gas connector work is for a pro.
- 3
Mask and gloves
Wear a dust mask while you brush and vacuum, and gloves for the sharp duct edges.
Tools you'll need
Grab these first
Tool and part links are affiliate links. We may earn a commission at no extra cost to you, and it never changes what we tell you to check first. How this works
- Dryer vent brush kitRods and a brush that reach the whole duct run, from the wall to the outside hood.Typically $15–$35Shop this tool
- Shop vacuumPulls out the lint the brush loosens, at the wall opening and the dryer outlet.Typically $40–$90Shop this tool
- Multi-bit screwdriverPhillips, flat, squareLoosens the duct clamps at the dryer and the wall.Typically $10–$25Shop this tool
- Dust maskN95Packed lint is dusty. Wear one while you brush and vacuum.Typically $10–$25Shop this tool
- Work glovesOptionalDuct edges are thin sheet metal and can cut.Typically $8–$20Shop this tool
Step by step
How to clean the dryer vent
- 1
Unplug the dryer, and close the gas on a gas dryer
Ease the dryer out just far enough to reach the plug, and pull it. Electric dryers have a large 240 V plug.
Gas dryer? Close the gas shutoff first: turn the handle a quarter turn so it sits crosswise to the pipe. You will not touch any gas fittings. It is a second layer of safety while the dryer moves.
Careful. Smell gas at any point? Stop. Do not touch switches or the plug. Leave the house and call your gas utility from outside.
- 2
Pull the dryer out, slowly
Walk the dryer forward far enough to reach the duct, usually a foot or two. Keep an eye on the cords and the duct as it moves.
On a gas dryer, watch the flexible gas connector. Stop before it pulls tight or bends sharply. If it is kinked, damaged or comes loose, leave the gas shutoff closed and call a pro.
Careful. Never disconnect, straighten or reuse a gas connector yourself. Manufacturers say old flexible connectors can leak once disturbed.
- 3
Take the duct off the dryer
Loosen the clamp where the duct meets the dryer's outlet, and slide the duct off. Do the same at the wall if the transition duct comes off there. Follow your dryer's manual if it shows a different connection.
- 4
Check the duct, and replace it if needed
Look at the transition duct. Rigid metal or semi-rigid metal duct is what manufacturers call for. White vinyl or thin foil accordion duct should go, and so should any crushed or torn section.
Buy a 4 in. metal duct unless your manual says otherwise. Keep it as short and straight as the layout allows. Your installation instructions list the longest run allowed for your setup.
Buy the part
Exhaust vent and duct
Opens AppliancePartsPros in a new tab. Where’s my model number?
What to look for
- Rigid or semi-rigid metal duct. No white vinyl and no thin foil.
- 4 in. diameter, unless your dryer's manual says otherwise.
- Only as long as you need. Extra length adds bends and slows the air.
- A listing mark on the package if your manual asks for a listed transition duct.
- New clamps or foil tape for the joints.
Duct is generic. What matters is the material, the diameter and the length limit in your dryer's installation instructions.
- 5
Open up the outside hood
Go outside to the vent hood. Remove the louvers or the guard if they come off, or tape the flap open, so the brush can come out the end without breaking anything.
- 6
Brush the duct
Screw the brush onto the first rod and feed it into the duct from the wall opening. Turn it clockwise as you go, and work in short pushes and pulls of about a foot. Add rods until the brush comes out at the hood.
Turning clockwise helps the brush around bends. If it jams, pull back a few inches and push forward again while turning. Never force it.
- 7
Vacuum up the lint
Vacuum the lint the brush pulled out at the wall opening and on the floor. Vacuum inside the dryer's outlet as far as the nozzle reaches, and brush out the transition duct if you are keeping it.
- 8
Clear and close the hood
Pull any lint, leaves or nest material out of the hood. Check that the flap swings freely. Refit the louvers or guard.
Do not add a wire screen or cloth over the opening. Lint collects on it and blocks the air.
- 9
Reconnect the duct
Slide the duct back over the dryer outlet and the wall pipe, and tighten the clamps. Seal joints with metal clamps or foil tape. Never use sheet metal screws, which stick into the duct and catch lint.
Shape the duct into smooth, gentle bends with no kinks or flat spots.
- 10
Push the dryer back, carefully
Walk the dryer back toward the wall while you watch the duct. Stop a few inches out so the duct is not crushed.
On a gas dryer, watch the gas connector too. It should sit in loose, gentle curves, not kinked or pinched. Then turn the gas shutoff handle back in line with the pipe. If you smell gas, close it again, leave the house and call your gas utility from outside.
- 11
Plug in and check the airflow
Plug the dryer in. Run an air or fluff cycle for about ten minutes, then go outside. The flap should open and you should feel strong airflow.
Tip. Note how long a normal load takes now. When drying times creep up again, it is time for the next clean.
Buy the part
Get the right replacement
Buy the part
Exhaust vent and duct
Opens AppliancePartsPros in a new tab. Where’s my model number?
What to look for
- Rigid or semi-rigid metal duct. No white vinyl and no thin foil.
- 4 in. diameter, unless your dryer's manual says otherwise.
- Only as long as you need. Extra length adds bends and slows the air.
- A listing mark on the package if your manual asks for a listed transition duct.
- New clamps or foil tape for the joints.
Duct is generic. What matters is the material, the diameter and the length limit in your dryer's installation instructions.
Know your limits
When to call a pro
Stop and call a pro if
- You smell gas at any point. Leave the house and call your gas utility from outside.
- The gas connector behind a gas dryer got kinked, stretched, damaged or disconnected. Leave the gas shutoff closed. Reconnecting it is pro work.
- The vent runs to the roof, is very long, or you cannot reach the hood safely. A vent cleaning service has the tools for long runs and roofs.
- The brush jams and will not pass, or you find a crushed duct inside a wall or ceiling.
- Airflow is still weak after a full cleaning.
- It has been a while since your gas dryer's gas line and connection were checked. Fire safety agencies suggest a professional inspection.
FAQ
Exhaust vent and duct questions
How often should I clean the dryer vent?
About once a year, and sooner if loads start taking longer to dry. Clean the lint screen every load as well.
Is the white plastic or foil vent hose OK?
No. Safety agencies and dryer makers say to use rigid or semi-rigid metal duct. Plastic and thin foil trap lint in their ridges and crush or kink easily, which cuts airflow and raises the fire risk.
How long can a dryer vent be?
It depends on your dryer, the duct type, the number of bends and the hood. Each maker publishes its own limit, and flexible duct gets a shorter limit than rigid. Check your installation instructions, and your local building code.
Can I move my gas dryer to clean behind it?
Yes, carefully. Close the gas shutoff, move it only a short way, and do not let the flexible gas connector stretch or kink. If the connector gets damaged or comes loose, leave the gas off and call a pro. Never reuse or reconnect an old gas connector yourself.
Should I hire someone instead?
A short run with an easy hood is a good DIY job. Long runs, roof vents and ducts hidden in walls are where a vent cleaning service earns its fee, typically a little over $100 to about $185.
Related
Keep going
- SymptomDryer takes too long to dryLoads need two cycles, or come out damp. On gas and electric dryers alike, the usual cause is restricted airflow: a clogged lint screen, a blocked vent or a crushed duct. Load size matters too.Open guide
- SymptomDryer shuts off earlyThe cycle ends, or the dryer stops mid-cycle, and the clothes are still damp. On gas and electric dryers, the usual causes are a blocked vent making it overheat, a coated moisture sensor, or a door that will not stay shut.Open guide
- SymptomDryer runs but won't heatThe drum tumbles but the air stays cold. On an electric dryer, start with the breaker and the thermal fuse. On a gas dryer, start with the gas shutoff and watch the igniter.Open guide
- Dryer partLint screenThe lint screen catches fluff before it reaches the vent. A clogged or coated screen slows drying and makes the dryer run hot. Gas and electric dryers both have one, and cleaning it takes a minute.Open guide
- Dryer partThermal fuseThe thermal fuse is a one-time safety fuse that blows when the dryer overheats. Gas and electric dryers both have one. A blown fuse is a warning about airflow, so clean the vent before you replace it.Open guide
- Dryer partHigh-limit thermostatThe high-limit thermostat cuts the heat if the dryer overheats. Gas and electric dryers both have one, at the heat source. If it fails open, the dryer tumbles with no heat.Open guide