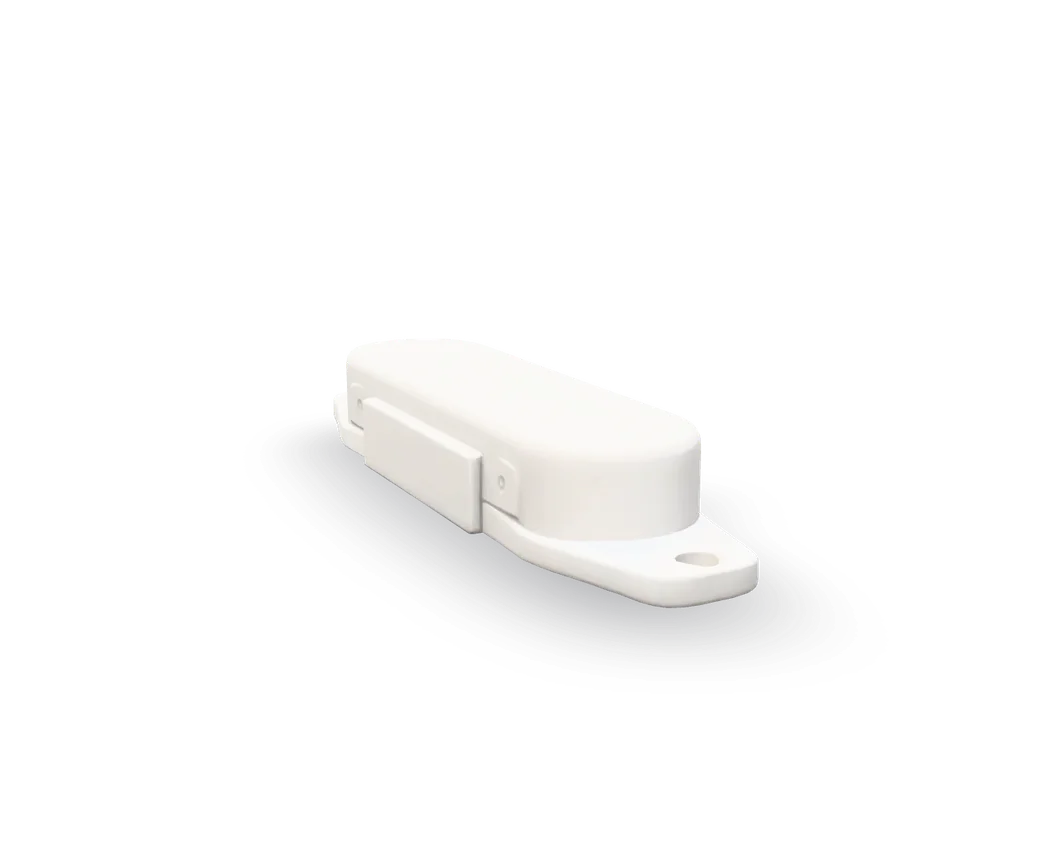
Dryer thermal fuse: test and replace
Good news: the fuse itself is a cheap, two-wire part. The real fix is finding out why it blew, and that is almost always the vent.
- Difficulty
- Easy
- Time
- 30 min–1 hr
- Typical part cost
- $5–$60Pro: $75–$175
- Tools
- 7See the list
Two screws and two wires once you are in. Reaching the blower housing usually means pulling the dryer out and taking off a panel.
What it does
What the thermal fuse does
The thermal fuse is a small, flat safety device with two wires. It sits in the hot air path, usually on the blower housing where air leaves the drum. Gas and electric dryers both have one.
If the air gets too hot, the fuse opens and stays open. Depending on the design, that either stops the whole dryer from starting or lets it tumble with no heat. It is there to stop an overheating dryer before lint can catch fire.
It is a one-time part. It cannot be reset, only replaced.
Why it fails
A fuse rarely just wears out. It blows because the dryer got too hot, and the usual reason is restricted airflow: a lint-packed vent duct, a crushed or kinked duct behind the dryer, a stuck outside flap or a clogged lint screen.
Less often, another part causes the overheating. A cycling thermostat that sticks closed, a failed high-limit thermostat or a heating element shorting to its housing can all run the dryer too hot.
That is why a new fuse on a dryer with a blocked vent often blows again. Worse, the heat that blew it is the same heat that starts lint fires.
Symptoms
Signs of a bad thermal fuse
Will not start at all
On many dryers the fuse is wired to the motor. When it blows, you push start and nothing happens, even though the dryer has power.
Full diagnosisTumbles, but no heat
On other dryers the fuse only cuts the heat. The drum turns and the clothes come out cold and damp.
Full diagnosisDrying had been getting slower
Loads that took longer and longer to dry before the fuse blew point straight at a lint-clogged vent.
Full diagnosisDryer or vent felt very hot
A cabinet that was hot to the touch, or a burning-lint smell, before the dryer quit means it overheated. Clean the vent before you run it again.
How to test it
Test the thermal fuse before you buy
- Pull the lint screen and clean it. Look down into the lint screen slot for packed lint.
- Go outside while someone runs the dryer on an air-only setting. You should feel a strong flow at the vent hood, and the flap should open.
- Look behind the dryer. The duct should be short, smooth and not crushed, kinked or pinched against the wall.
If the dryer will not start at all, skip the airflow check for now and come back to it after you replace the fuse. Do not run a new fuse on an uncleaned vent.
- Good
- Strong airflow outside, a clean duct and an open flap. Airflow is probably not the cause, so test the fuse and the thermostats.
- Bad
- Weak or no airflow, a stuck flap or a crushed duct. Clean or fix the [exhaust vent](/dryer/exhaust-vent) before you put in a new fuse, or the new one may blow too.
- Unplug the dryer. On a gas dryer, also close the gas shutoff.
- Take off the panel that gets you to the blower housing and find the fuse: a small flat part with two wires.
- Pull one wire off the fuse so the meter reads only the fuse.
- Touch one probe to each terminal. Polarity does not matter.
A good thermal fuse shows
Continuity (near 0 Ω)
Typical range. Check your part label or manual for the exact spec.
- Good
- Near zero, or a beep on the continuity setting, means the fuse is intact. Look at the [cycling thermostat](/dryer/cycling-thermostat), [high-limit thermostat](/dryer/high-limit-thermostat) and heat source next.
- Bad
- OL, or no beep, means the fuse has blown. Replace it, and fix the airflow before you run the dryer.
Safety first
Before you touch anything
- 1
Unplug the dryer
Pull the plug from the wall. If you cannot reach it, turn off the dryer's breaker. Before you touch the fuse wires, check them with a voltage tester that you have tried on a working outlet first.
- 2
Gas dryer: close the gas shutoff
Turn the handle on the dryer's gas line a quarter turn so it sits crosswise to the pipe. You will not open any gas fittings in this job. This is just a second layer of safety.
- 3
Wear gloves
The edges of dryer panels and the blower housing can be sharp.
Tools you'll need
Grab these first
Tool and part links are affiliate links. We may earn a commission at no extra cost to you, and it never changes what we tell you to check first. How this works
- Nut driver1/4 in. hexMany dryer back panels and fuse screws are 1/4 in. hex heads.Typically $6–$15Shop this tool
- Nut driver5/16 in. hexThe other common dryer panel screw size.Typically $6–$15Shop this tool
- Digital multimeterΩ, V, µF, µAA continuity test tells you in seconds whether the fuse is blown.Typically $25–$60Shop this tool
- Non-contact voltage testerPen styleConfirms the dryer is really dead before you touch the fuse wires.Typically $15–$30Shop this tool
- Dryer vent brush kitClears the vent duct, which is the real fix for a blown fuse.Typically $15–$35Shop this tool
- Shop vacuumPulls lint out of the cabinet and the duct while you are in there.Typically $40–$90Shop this tool
- Needle-nose pliersPulls tight spade connectors straight off the terminals.Typically $8–$20Shop this tool
- Work glovesOptionalSheet metal edges inside a dryer are sharp.Typically $8–$20Shop this tool
Step by step
How to replace the thermal fuse
- 1
Unplug the dryer and close the gas
Pull the dryer out far enough to reach the plug and unplug it. Electric dryers run on 240 V, so do not skip this.
On a gas dryer, turn the gas shutoff handle a quarter turn so it sits crosswise to the pipe. Move the dryer gently so you do not strain the gas line.
- 2
Clean the vent
Disconnect the duct from the back of the dryer and clean it end to end with a vent brush and a vacuum. Clean the outside hood and make sure its flap swings freely.
Vacuum the dryer's exhaust outlet and the lint screen slot too. See the exhaust vent guide for the full job.
Careful. This is the real fix. A new fuse on a blocked vent can blow again, and the heat that blows it can start a lint fire.
- 3
Take off the access panel
On many dryers the fuse is on the blower housing behind the back panel. Remove the screws around the panel's edge and lift it off. Some dryers put the fuse where you reach it from the front instead. Your manual or the parts diagram for your model shows which.
- 4
Find the fuse and check the wires
Look on the blower housing, near where the air leaves the dryer, for a small flat part with two wires and one or two screws.
Hold the voltage tester to the wires. It should stay quiet. Then take a photo so you know where each wire goes.
Tip. The thermostats nearby look different: they are round. The fuse is flat and oblong.
- 5
Disconnect the wires
Pull both wires straight off the terminals. Grip the metal connector, not the wire. Needle-nose pliers help with tight ones.
- 6
Remove the old fuse
Back out the mounting screw or screws and lift the fuse off the housing. Keep the screws.
- 7
Match the new fuse
Compare the new fuse with the old one. The part number, the shape and the terminal layout should match, or the new part should list your dryer's model number.
Careful. Never bridge the fuse with a wire or run the dryer without it. It is the last line of defense against a dryer fire.
Buy the part
Thermal fuse
Opens AppliancePartsPros in a new tab. Where’s my model number?
What to look for
- The part number printed on the old fuse, or the dryer's model number from the rating plate inside the door.
- The same shape and terminal layout as the old fuse.
- Some kits pair the fuse with a high-limit thermostat. That is worth it if the [high-limit thermostat](/dryer/high-limit-thermostat) tests bad too.
- 8
Install the new fuse
Set the new fuse in the same spot, flat against the housing, and drive the screws in snug. Push each wire back onto its terminal. Polarity does not matter on a fuse, but check your photo anyway.
- 9
Close it up and reconnect the vent
Refit the back panel and its screws. Reattach the cleaned duct to the dryer outlet with its clamp, and push the dryer back without crushing the duct.
- 10
Power up and run a test load
On a gas dryer, turn the gas handle back in line with the pipe. Plug the dryer in and run a timed heat cycle.
Check outside for strong airflow, and check that the clothes come out warm. If the new fuse blows again on a clean vent, stop using the dryer and test the thermostats and heat source, or call a pro.
Buy the part
Get the right replacement
Buy the part
Thermal fuse
Opens AppliancePartsPros in a new tab. Where’s my model number?
What to look for
- The part number printed on the old fuse, or the dryer's model number from the rating plate inside the door.
- The same shape and terminal layout as the old fuse.
- Some kits pair the fuse with a high-limit thermostat. That is worth it if the [high-limit thermostat](/dryer/high-limit-thermostat) tests bad too.
Know your limits
When to call a pro
Stop and call a pro if
- You smell gas at any point. Do not touch any switches. Leave the house and call your gas utility from outside.
- A new fuse blows again even though the vent is clean and airflow is strong. Something else is overheating the dryer.
- You see scorch marks, melted wires or burned lint inside the cabinet.
- The vent runs a long way inside a wall or ceiling and you cannot clean it end to end.
FAQ
Thermal fuse questions
Can I reset a dryer thermal fuse?
No. A thermal fuse is a one-time part. Once it opens it stays open, and the only fix is a new one. Some dryers also have resettable thermostats, but the fuse is not one of them.
Why does my dryer keep blowing thermal fuses?
Almost always airflow. Clean the whole vent run, check the outside flap and make sure the duct behind the dryer is not crushed.
If the vent is clean and fuses still blow, test the cycling thermostat and the high-limit thermostat. On an electric dryer, also check the heating element for a short to its housing.
Can I bypass the fuse to get a load dry?
No. The fuse is what stops an overheating dryer before lint catches fire. Running without it removes that protection right when the dryer has shown it is overheating.
Do gas dryers have a thermal fuse too?
Yes. Gas and electric dryers both use one, and it works the same way. Where it sits can differ by model, so check your manual or parts diagram before you open the cabinet.
Related
Keep going
- SymptomDryer won't startThe dryer is dead, the lights come on but the drum never turns, or it hums without starting. Start with the breaker and the door, then the thermal fuse, the door switch and the start switch.Open guide
- SymptomDryer runs but won't heatThe drum tumbles but the air stays cold. On an electric dryer, start with the breaker and the thermal fuse. On a gas dryer, start with the gas shutoff and watch the igniter.Open guide
- SymptomDryer takes too long to dryLoads need two cycles, or come out damp. On gas and electric dryers alike, the usual cause is restricted airflow: a clogged lint screen, a blocked vent or a crushed duct. Load size matters too.Open guide
- Dryer partExhaust vent and ductThe exhaust duct carries hot, damp air and lint from the back of the dryer to a hood outside. When lint packs into it, drying slows and the dryer runs hot. Gas and electric dryers both need it cleaned about once a year.Open guide
- Dryer partLint screenThe lint screen catches fluff before it reaches the vent. A clogged or coated screen slows drying and makes the dryer run hot. Gas and electric dryers both have one, and cleaning it takes a minute.Open guide
- Dryer partCycling thermostatThe cycling thermostat switches the heat on and off to hold the drying temperature. Gas and electric dryers both use one. When it fails, the dryer gets no heat or runs too hot.Open guide
- Dryer partHigh-limit thermostatThe high-limit thermostat cuts the heat if the dryer overheats. Gas and electric dryers both have one, at the heat source. If it fails open, the dryer tumbles with no heat.Open guide
- Dryer partHeating elementElectric dryers only. The heating element is a coil of resistance wire that heats the air on its way into the drum. A broken coil means no heat. A quick ohm test confirms it.Open guide