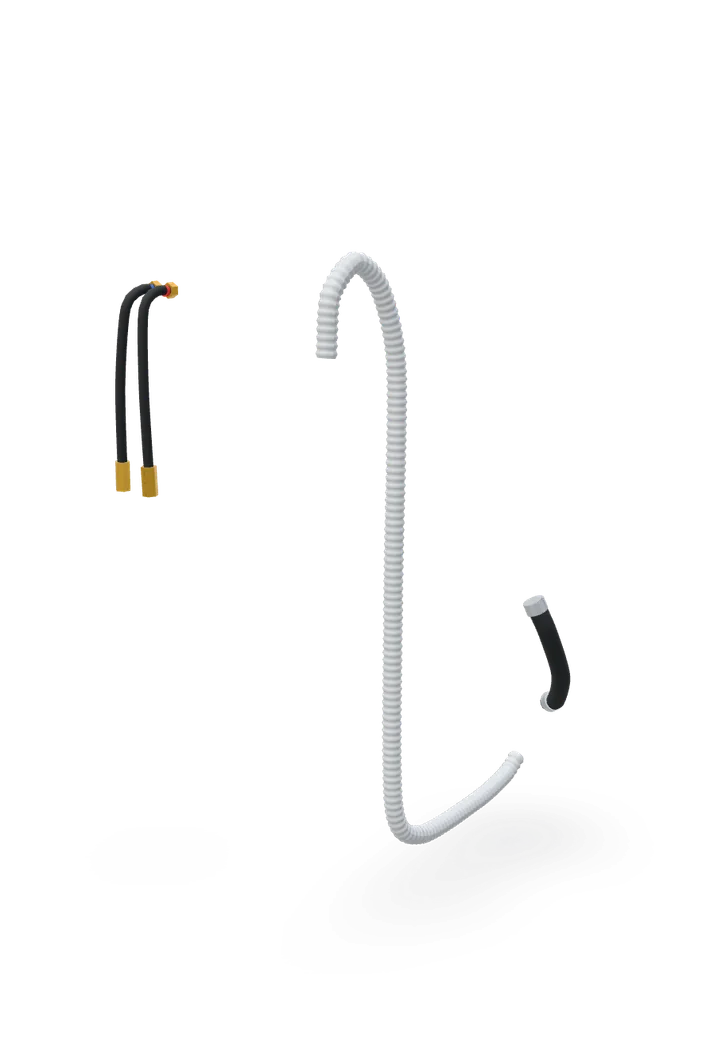
Washer fill hose replacement
This is the cheapest flood insurance in the house. Two hoses, no tools beyond pliers, about fifteen minutes.
- Difficulty
- Anyone can do it
- Time
- 10–25 min
- Typical part cost
- $10–$40Pro: $95–$200
- Tools
- 2See the list
Unscrew two hoses, screw on two new ones. The hardest part is reaching behind the washer.
What it does
What the fill hoses does
Two hoses run from the hot and cold valves in the wall to the inlet valve on the back of the washer. The fittings are a standard 3/4 in. thread at both ends, with a rubber washer inside each one.
Unlike the drain hose, they hold full house water pressure whenever the wall valves are open, even when the washer is off.
Why it fails
Rubber ages. It cracks, blisters and bulges, especially near the fittings where the hose bends. A hose that bursts can release a lot of water fast.
The rubber washers inside the fittings flatten and harden, and the connection starts to drip.
Kinks from pushing the washer back too far restrict flow and weaken the hose.
Symptoms
Signs of a bad fill hoses
Cracks, bulges or blisters
Look along each hose, especially near the ends. Any bulge or crack means replace both hoses now.
Drips at a fitting
Water beads at the wall valve or at the back of the washer. A new rubber washer may fix it, but old hoses should just be replaced.
Full diagnosisOlder than five years
Even a hose that looks fine is due once it passes about five years.
Slow fill
A kinked or crushed hose can slow the fill. Pull the washer out and straighten it.
Full diagnosis
How to test it
Test the fill hoses before you buy
- Pull the washer out far enough to see both hoses along their whole length.
- Look for cracks, blisters, bulges, rust on the fittings, and kinks.
- Run your hand along each hose. Soft spots are a warning.
- Good
- Smooth, firm hoses under five years old with dry fittings can stay. Check them again at least once a year.
- Bad
- Any bulge, crack, soft spot or rust, or hoses older than about five years. Replace both.
Safety first
Before you touch anything
- 1
Unplug the washer
Pull the plug before you move the washer and work behind it. Water and a live cord do not mix.
- 2
Close both wall valves
Turn the hot and cold valves fully off. If a valve will not close or leaks at its stem, stop and call a plumber.
Tools you'll need
Grab these first
Tool and part links are affiliate links. We may earn a commission at no extra cost to you, and it never changes what we tell you to check first. How this works
- Tongue-and-groove pliers10 in.Loosens old fittings that are too tight to turn by hand.Typically $12–$28Shop this tool
- Bucket5 galCatches the water left in the old hoses.Typically $4–$10Shop this tool
- HeadlampOptionalThe wall valves are usually in a dark gap behind the washer.Typically $12–$30Shop this tool
Step by step
How to replace the fill hoses
- 1
Unplug and close the valves
Pull the power plug. Turn both wall valves clockwise until they stop.
- 2
Unscrew the old hoses
Hold the bucket under each fitting and unscrew it, first at the washer and then at the wall. Turn by hand, or use pliers if it is stuck.
Drain the hoses into the bucket.
- 3
Check the new hose washers
Look inside each fitting of the new hoses. Each one needs a flat rubber washer seated firmly in the bottom. Before you connect them, run a little water from each wall valve into the bucket to flush out grit that could clog the inlet screens.
Buy the part
Fill hoses
Opens Amazon in a new tab. Where’s my model number?
What to look for
- Standard 3/4 in. hose fittings at both ends.
- The right length. Many are about 4 to 5 feet. Too long kinks, too short pulls.
- Rubber washers included in every fitting.
Fill hoses are universal on most washers in the US. Braided stainless hoses are less likely to burst than plain rubber, but they still need replacing.
- 4
Screw on the new hoses
Thread each fitting on by hand so it cannot cross-thread. Hot valve to the hot inlet, cold to cold.
Hand-tight until the washer seats, then about two-thirds of a turn more with pliers. Too tight crushes the rubber washer and can crack the fitting.
Careful. Do not use thread tape or sealant on these fittings. The rubber washer does the sealing.
- 5
Open the valves and check
Open each valve slowly and watch both ends of each hose for a minute.
Push the washer back, leaving a few inches so the hoses do not kink. Plug it in and run a fill.
Buy the part
Get the right replacement
Buy the part
Fill hoses
Opens Amazon in a new tab. Where’s my model number?
What to look for
- Standard 3/4 in. hose fittings at both ends.
- The right length. Many are about 4 to 5 feet. Too long kinks, too short pulls.
- Rubber washers included in every fitting.
Fill hoses are universal on most washers in the US. Braided stainless hoses are less likely to burst than plain rubber, but they still need replacing.
Know your limits
When to call a pro
Stop and call a pro if
- A wall valve will not shut off, leaks at its handle, or is corroded. Call a plumber.
- The leak is coming from inside the washer, not the hoses.
FAQ
Fill hoses questions
How often should washer hoses be replaced?
Several washer makers recommend every five years, even if the hoses look fine. Check them for bulges and cracks in between.
Are braided hoses better?
They are less likely to burst suddenly than plain rubber. They are still rubber inside, so replace them on the same schedule.
Should I turn the water off between loads?
Some washer manuals suggest it, because it takes the pressure off the hoses and the valve. If a hose does fail, far less water gets out.
Related
Keep going
- SymptomWasher leaking waterA puddle under or behind the washer. Front leaks are usually the door seal or the pump filter. Back leaks are usually the fill hoses or the inlet valve. Find the spot first.Open guide
- SymptomWasher won't fill with waterThe tub stays dry, fills very slowly, or only gets hot or cold water. Check the supply valves, the hoses and the inlet screens, then test the inlet valve.Open guide
- Washer partWater inlet valveThe inlet valve lets hot and cold water into the washer. Clogged screens slow it down, and a burned-out coil stops one side. Clean, test and replace it from the back of the washer.Open guide
- Washer partDrain pumpThe drain pump pushes the water out at the end of each wash and rinse. Clean the filter first. If it still will not drain, test the pump and swap it.Open guide
Get the next fix before it breaks
A short email when the seasons turn: filters to change, detector batteries to check, and new repair guides. No spam, unsubscribe any time.
We send it with Kit. Privacy